Last updated: October 29, 2026
Quick answer: To test a circuit breaker with a multimeter, check for about 120 V on a standard single-pole circuit or about 240 V on a two-pole circuit, then confirm continuity only after the breaker is fully isolated. A breaker that loses voltage on the load side or fails continuity when removed is suspect, but a safe diagnosis still depends on the panel layout and the meter readings.
A multimeter can tell you whether a circuit breaker is actually carrying voltage and whether its internal contact is open when it should be closed. This guide explains how to test a circuit breaker with a multimeter without confusing breaker failure with a wiring or load problem. If a breaker keeps tripping, feels warm, or leaves part of a breaker panel dead, this is the fastest way to check whether the breaker is the problem or the circuit is.
Key takeaways
- A breaker test has two parts: check for voltage on the line side and load side, then check continuity only after the breaker is fully isolated.
- A healthy breaker should pass voltage through when it is on and show continuity across its terminals when removed from the panel and disconnected.
- Testing inside a breaker panel is not the same as checking a loose breaker on a bench; the first uses live-voltage measurement, the second uses continuity.
- A multimeter can confirm a bad breaker, but it cannot fix a loose bus stab, a damaged wire, or a circuit that is overloaded by design.
- If the panel cover is damaged, corrosion is present, or you are unsure which breaker feeds which circuit, stop and call a licensed electrician.
What you need before you touch the breaker
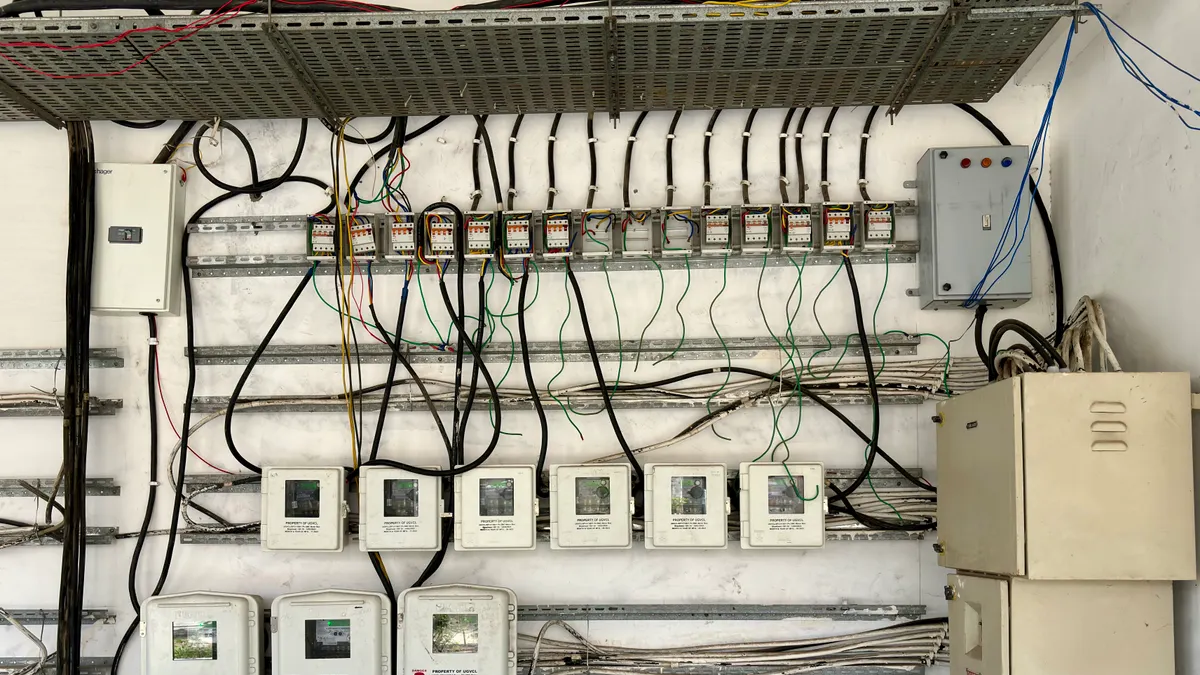
You need a multimeter, a screwdriver that fits the panel cover screws, and enough light to read the meter without reaching past live parts. A basic digital multimeter that measures AC voltage and resistance is enough for most breaker checks. For a fuller overview of meter basics, see our multimeter guide and electrical safety tips.
Set the meter to AC volts for the live test. If your meter has fixed ranges, choose the next range above the panel’s normal voltage; in many homes that means a 250 V or 600 V range on a manual meter. For the continuity test, use the continuity setting or the lowest ohms range.
Before opening the breaker panel, stand on a dry floor, keep one hand free when possible, and remove metal jewelry. The dead-front cover on a panel is there for a reason: once it comes off, parts of the breaker and bus can be exposed. If the panel is crowded, dark, rusted, or missing knockout blanks, that is a bad place to improvise.
This page is about verifying a suspected bad breaker, not tracing every circuit in the panel or replacing the breaker. If a bad breaker is confirmed and the panel needs more than a single part swap, the next step belongs on the electrical panel upgrade page, not here.
How to test a circuit breaker with a multimeter
You test a circuit breaker by checking for incoming voltage, outgoing voltage, and then continuity if you remove the breaker from the panel. The live voltage test shows whether the breaker is passing power; the continuity test shows whether the internal switch path is open or closed outside the panel. For background on breaker ratings and panel wiring, see the breaker sizing guide and panel troubleshooting.
-
Turn off the load on the circuit first. Unplug appliances, switch off lights on that branch, and clear anything that could confuse the test. If the breaker feeds a device with a motor or electronics, a live load can make the reading jump around, so the meter reading becomes harder to trust.
-
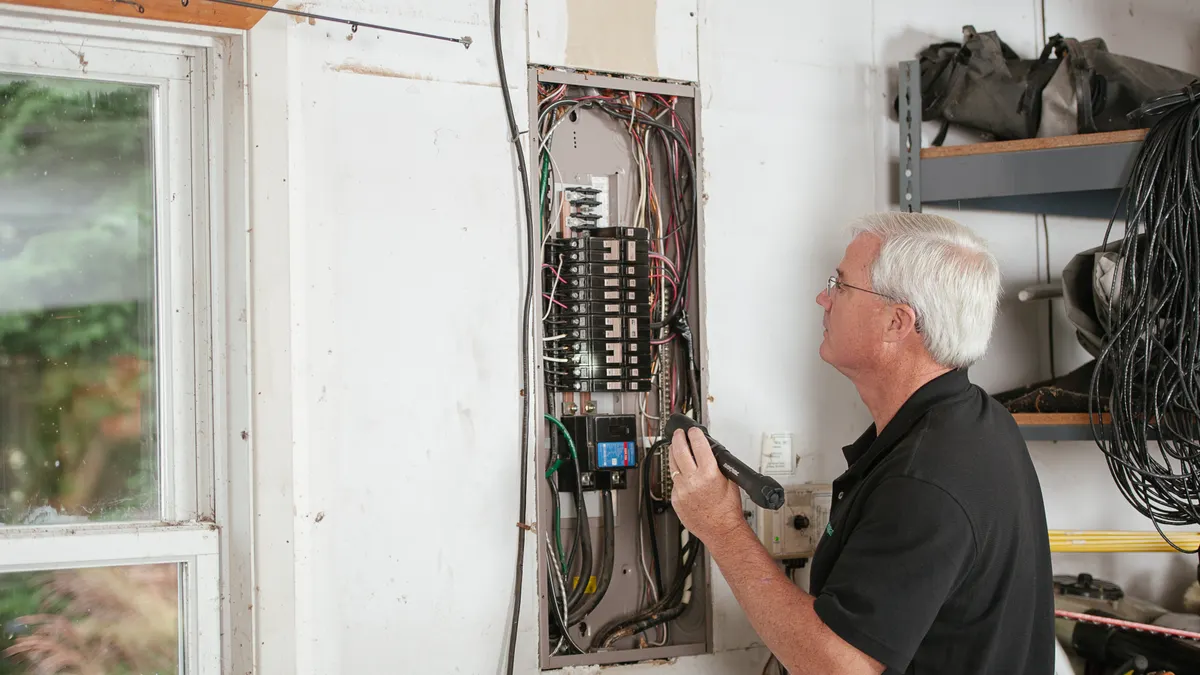
Remove the panel cover with the correct screwdriver. Take out the breaker panel dead-front screws and lift the cover away carefully. You should now see the breaker handles and exposed terminals, but not bare conductors everywhere. If the panel cover will not come off cleanly, do not force it.
-
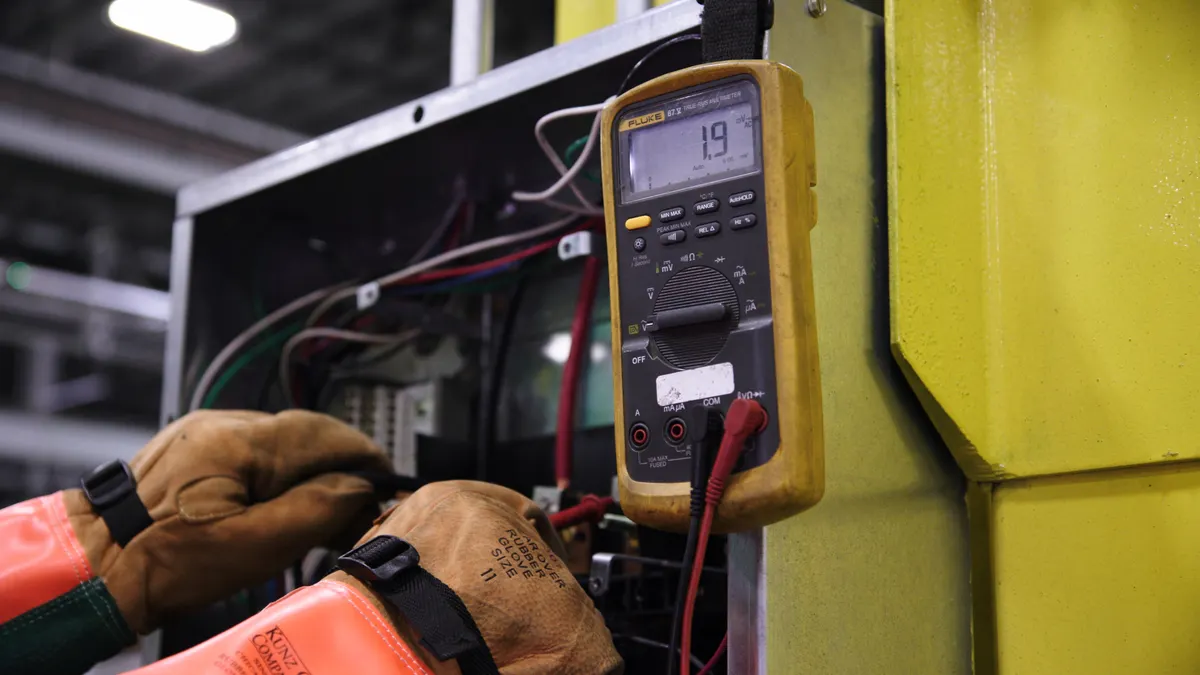
Set the multimeter to AC voltage. Put the black probe in the meter’s COM jack and the red probe in the voltage jack. If the panel is a typical 120/240 V residential panel, select a range that safely covers that voltage. A wrong setting here can give a false reading or damage the meter.
-
Touch the black probe to the neutral bar and the red probe to the breaker screw. On a standard branch breaker, this checks the load side or hot terminal against neutral. A working energized breaker should show the circuit’s normal voltage, often about 120 V on a standard branch circuit. If you get 0 V or a very low reading, that breaker is not delivering power on that side.
-
Move the red probe to the breaker’s feed side if it is accessible and safe to reach. This tells you whether power is entering the breaker from the bus or supply side. The reading should match the panel voltage, which is often 120 V on a single pole circuit and 240 V across both poles on a two-pole breaker. If voltage is present on the feed side but absent on the load side while the breaker is on, the breaker is suspect.
-
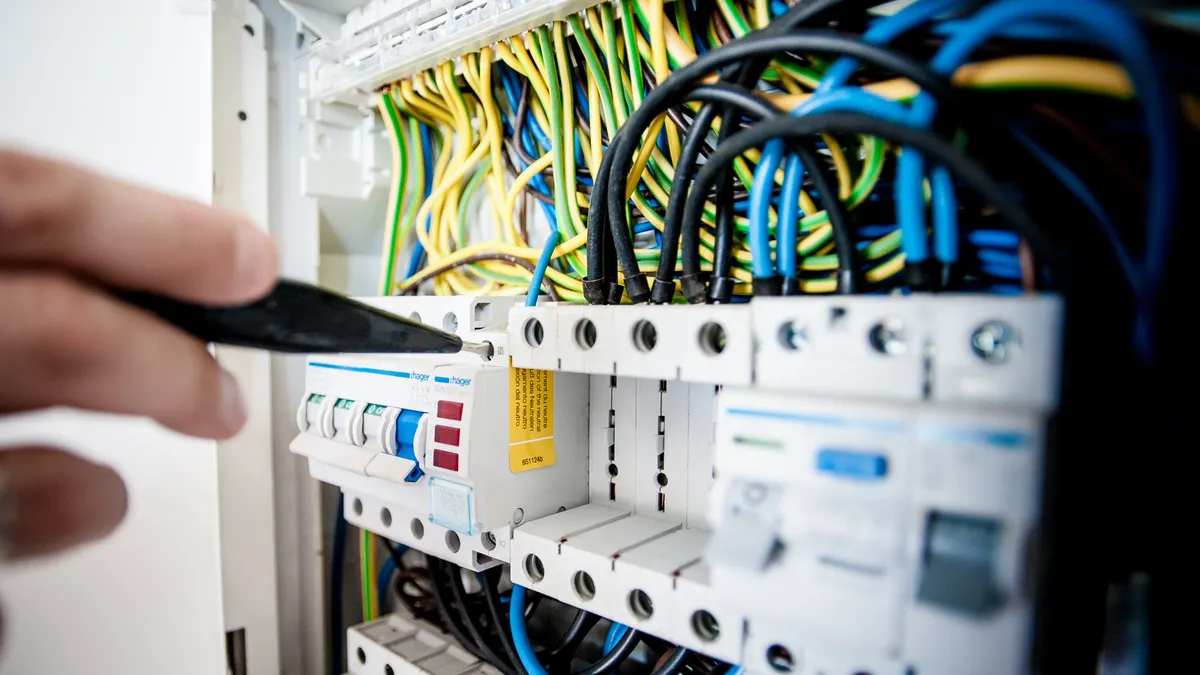
Compare both poles on a two-pole breaker. Put the meter across the two hot terminals. A 240 V breaker should show about 240 V across the two poles when energized. If one pole reads and the other does not, the issue may be internal to the breaker or at the connection point, not the entire circuit.
-
If the breaker still looks bad, isolate it for a continuity test. Turn off the main disconnect if the panel design requires it for safe removal, then remove the breaker from the panel following the panel’s method. The goal is to test the breaker outside the live panel, where continuity means something useful. If the breaker stays in the panel, a continuity reading can be misleading because the rest of the circuit is still connected.
-
Set the meter to continuity or low ohms and test across the breaker terminals. With the breaker in the OFF position, most breakers should read open or no continuity. With the breaker in the ON position and fully disconnected from the panel, it should show continuity. If the reading stays open in ON, the internal contacts are not closing.
-
Repeat the test once to confirm the result. Move the breaker handle from OFF to ON and back again while watching for stable readings. A breaker that only works when the handle is held in a certain spot, or one that reads inconsistently from one test to the next, is not behaving normally.
What a good reading looks like in a real breaker panel
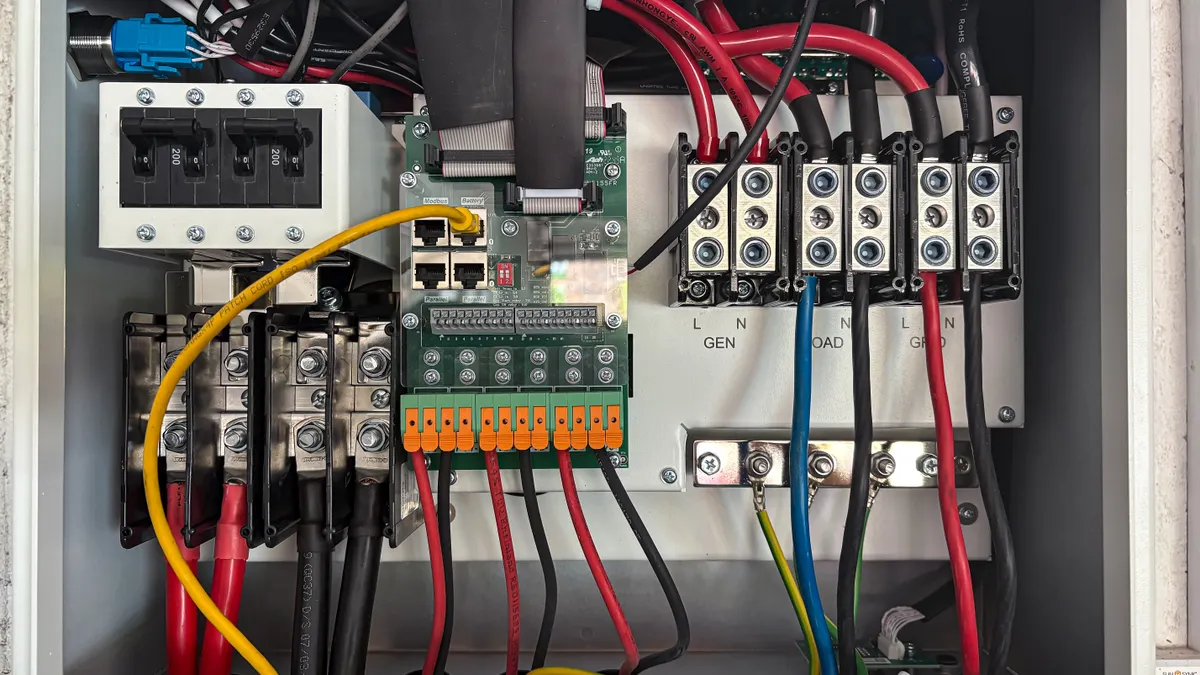
A good reading is stable, matches the circuit type, and changes when the breaker changes state. On a standard 120 V branch circuit, the hot-to-neutral reading should be near line voltage when the breaker is on. On a 240 V double-pole breaker, the reading across both hots should be near 240 V when the breaker is closed. For product-level reference, Eaton’s breaker documentation and Schneider Electric’s technical library both describe these basic voltage relationships in panel applications. (Source: Eaton | Schneider Electric)
The continuity test has a different purpose. A breaker removed from the panel and set to OFF should usually read open. Set to ON, it should show continuity through its internal path. If the meter beeps in OFF and goes open in ON, the breaker is not behaving correctly or the probe placement is wrong.
A common mistake is to test only the breaker handle and skip the meter. The handle can feel normal while the internal contact is burned. Another mistake is to call any zero reading a bad breaker. A dead circuit can also mean a loose conductor, a tripped upstream device, a bad connection at the bus stab, or a failed load downstream. The meter tells you where power stops, not why the circuit failed.
If you want a reference point for the equipment itself, a breaker’s job is defined by standard overcurrent protection practice, and panel boards are built around that function. For broader background on breakers and how they fit in electrical systems, the Eaton and Schneider Electric technical libraries both maintain product and application material that is specific to breaker construction and ratings. The exact model matters, because a 15 amp single-pole breaker and a 40 amp two-pole breaker are not tested the same way in use.
Common mistakes that make the test look wrong
Testing the wrong side of the breaker makes the result useless. If you probe only the load side, you may conclude the breaker is dead when the supply problem is actually upstream. If you probe only the supply side, you may miss a breaker that is not passing power forward.
Using resistance mode on a live panel is another mistake. Ohms and continuity are for de-energized parts only. On a live breaker panel, resistance mode can give nonsense readings and can damage the meter. The live test must be voltage only.
A third mistake is assuming a tripped breaker is the same as a bad breaker. A tripped breaker may be doing its job because of overload, a short, or a failing appliance. This guide is for verification, not for resetting or retesting a breaker that immediately trips again. If the breaker trips again under normal use, the fault may be in the circuit rather than the breaker itself.
Loose meter probes also waste time. If the probe tip slips off the screw head, the reading can jump between 0 V and full voltage in a second. A steady hand matters more than a fancy meter. If the panel is cramped, use insulated probe tips rated for electrical work so you are not balancing bare metal tips in a live enclosure.
Bad breaker symptoms that make testing worth doing
A breaker deserves a meter test when the same circuit keeps going dead, the handle feels loose, the breaker case is discolored, or one branch of a two-pole circuit works while the other does not. Heat marks, a faint burning smell, or a breaker that is warm without a heavy load are also warning signs.
Another clue is inconsistency. If the same outlet or lighting circuit comes back after you cycle the breaker and then dies again without a clear overload, the breaker may have worn contacts or an internal fault. A breaker that chatters, refuses to stay set, or needs a second push to latch is not behaving normally.
A breaker can also fail quietly. That is the part many generic guides miss. A bad breaker does not always trip dramatically; it can pass voltage some of the time, drop out under vibration, or show proper voltage at the panel while still failing to deliver a reliable circuit under load. That is why both voltage and continuity matter.
Do not use this test to justify a panel replacement on its own. One bad breaker does not automatically mean the whole panel is unsafe, and one good reading does not clear the entire system. If the panel shows rust, heat damage, aluminum wiring issues, or repeated breaker failures, that is a broader electrical problem, not a simple meter check.
When the breaker should be treated as bad
The breaker should be treated as bad if it has incoming voltage, no outgoing voltage, and no continuity when removed and tested off the panel. That three-part result is the clearest sign that the breaker itself is not closing its contacts. If you are not fully comfortable isolating and removing the breaker, consult a licensed electrician before treating it as confirmed failed; OSHA and NFPA 70E guidance both stress de-energizing and controlling shock risk around live electrical equipment. OSHA | NFPA 70E
Treat it as suspect, not proven bad, if the voltage reading is unstable, the continuity reading changes with handle position, or the meter probes were hard to place. In that case, repeat the test once with better access and safer probe placement, or have a professional verify the result. A single shaky reading is not enough for a solid diagnosis.
If the breaker passes the test but the circuit still fails, stop blaming the breaker. The fault is likely elsewhere in the branch circuit, in the load, or at the connection points in the panel. That is the point where a more detailed electrical diagnosis begins, and the risk goes up. A licensed electrician is the right call if you see damaged insulation, overheated conductors, corrosion, or a panel layout that leaves you too close to live parts.
Can a breaker go bad without tripping?
Yes, a breaker can go bad without tripping. A breaker can have worn internal contacts, heat damage, or a loose mechanism and still never trip on its own. In that case, the circuit may go dead intermittently or fail under load instead of giving you a clean trip event.
That is why voltage testing matters. If the breaker shows normal input voltage but the output is missing, the breaker may be failing quietly. A continuity test can help confirm that the internal path is not behaving as it should. If the breaker is old, discolored, or inconsistent, do not assume a lack of tripping means it is healthy.
How do I know if a breaker is faulty?
A breaker is likely faulty if it has power coming in but not going out, if its continuity changes when the handle should be closed, or if the same circuit keeps failing after the load is removed. A breaker that feels loose, runs warm, or leaves part of a two-pole circuit dead is also a strong suspect.
The cleanest confirmation is a live voltage test followed by a continuity test on the removed breaker. If the meter readings disagree with the breaker’s position, the breaker is the problem more often than not. If the readings are normal, look elsewhere in the circuit instead of forcing a breaker replacement.
Is testing a breaker dangerous?
Yes, testing a breaker is dangerous because the breaker panel contains live parts even when one branch breaker is off. A screwdriver, probe slip, or damp hand can create a shock or arc flash hazard. That risk is higher in crowded panels, damaged panels, or panels with corrosion.
Use only the tools needed, keep the panel cover off for the shortest time possible, and do not reach past the dead-front opening more than necessary. If the panel is damaged, wet, smells burnt, or has exposed conductors that you cannot avoid, stop and call a licensed electrician.
Drafted with AI; not yet reviewed by a person.