Last updated: October 26, 2026
Key Takeaways
- Gather a light, tester, notes, marker, and labels before opening the panel.
- Turn off one breaker at a time and record what loses power.
- Follow the dead devices to the next live one on the same circuit.
- Use plain-language labels, not codes or vague room names.
A breaker panel is easiest to label when you map one circuit at a time, write down what dies on that breaker, and then convert those notes into clean panel directory labels. This guide covers how to identify the circuits in your breaker panel, and the job is slow but straightforward if you have a lamp, an outlet tester, and a label maker before you start.
What you need before you touch the panel
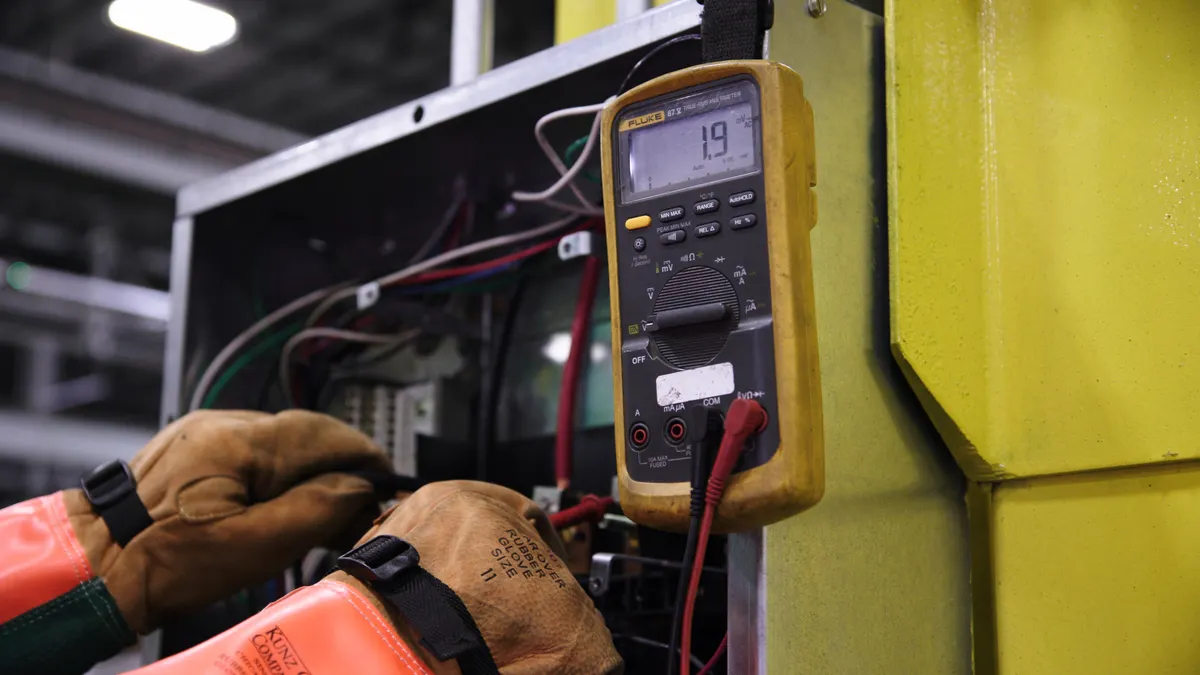
You need a flashlight or lamp, an outlet tester, a notepad or phone camera, a marker, and a label maker or preprinted label strips before you open the panel door. If the directory is blank or useless, those five tools are enough to build a usable circuit map without guesswork.
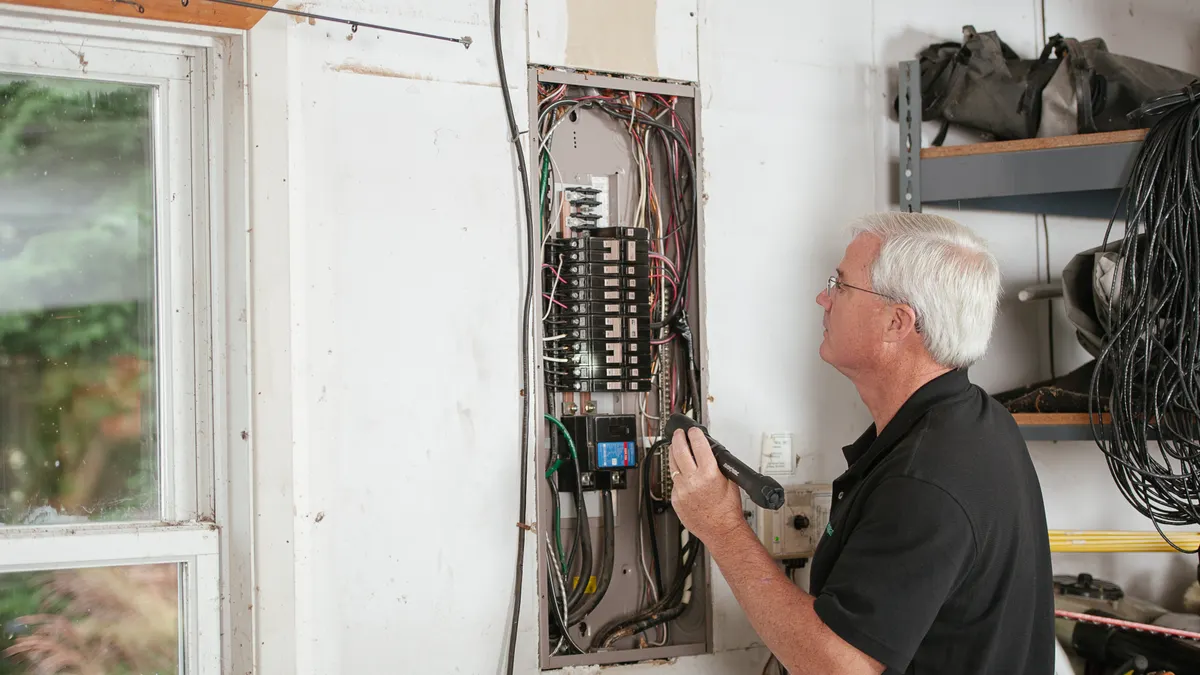
Start by finding the main breaker panel and making the space bright. A dark utility room turns a 10-minute task into a sloppy one because you cannot read breaker numbers, wire labels, or the printed spaces on the panel door. Keep the floor dry and stand on a stable surface. You do not need to remove the deadfront cover for this job, and you should not do that for simple circuit mapping.
This article is about labeling, not breaker repair. It is the right approach for a homeowner who wants to know which breaker controls which room, outlet, or light. It is not the right approach if the panel is damaged, hot, buzzing, rusty, or has scorch marks; in that case, consult a licensed electrician. The U.S. Consumer Product Safety Commission advises homeowners to treat damaged electrical equipment as a hazard, not a labeling task.
For a quick reference on equipment and terminology, a circuit breaker is the switch you flip to cut power to one circuit, and the panel directory is the list on the inside of the panel door that should identify each breaker. A clean label says something like “Kitchen counter outlets” or “Hall bath lights,” not “Upstairs maybe.”
How do I identify the circuits in my breaker panel?
You identify the circuits in your breaker panel by turning off one breaker at a time and recording exactly what loses power. The method works because a breaker usually controls a single branch circuit, even if that circuit feeds more than one room or several outlets in a row.
-
Make a baseline list of rooms and fixtures.
Walk the house and note the obvious loads: kitchen outlets, refrigerator, bathrooms, bedrooms, exterior lights, garage outlets, furnace, laundry, and smoke alarms. A simple list with 10 to 20 items gives you a map to work from. When this step is done, you know what to test for later instead of wandering the house blindly. -
Plug a lamp or outlet tester into a known live receptacle.
Choose an outlet in the room you want to identify first, and plug in a lamp or an outlet tester where you can see it from the doorway. A lamp gives a clear on/off signal, while an outlet tester is better if you want to know whether the outlet itself lost power rather than just the lamp. When the setup works, the lamp is on or the tester lights are active before you touch the panel. -
Turn off one breaker and watch for the exact result.
Switch one breaker fully to OFF, then check the lamp, the outlet tester, and the room lights. One breaker should make a specific set of loads go dead, while the rest of the house stays on. If nothing changes, that breaker may control a spare circuit, a hard-to-find load, or a circuit in another area. If several unrelated loads die, note that too; it tells you the existing directory is wrong or that the circuit is more broad than expected. -
Write the breaker number and the loads it controls.
Record the breaker number or position and the exact loads that lost power, such as “Breaker 7: front bedroom outlets and hall light.” Use room names people actually use, not electrical jargon. If a circuit feeds only half a room or one outlet plus a ceiling fan, write that down exactly. When this step is complete, you have the raw data for the panel directory. -
Turn the breaker back on before moving to the next one.
Return the breaker to ON, confirm power is back, and then move to the next breaker. This keeps the house from sitting dark while you work and reduces the chance of forgetting which breaker you already tested. If a breaker will not stay on or feels loose, stop there and consult a professional, because that can signal a problem outside labeling. -
Repeat until every breaker is documented.
Work through the panel one breaker at a time until every switch has a clear note attached to it. A typical panel may have 15, 20, or 40 breakers, and the process can take an hour or more depending on the layout of the house. When you are done, every breaker should have at least one identifiable load or be marked “spare” if it truly does nothing.
The critical habit is patience. Testing two breakers at once can make the map unreliable.
How do I tell which outlets and lights belong to one breaker?

You tell by checking the pattern after each breaker is turned off, then following the dead devices to the next live one in the same run. Outlets and lights on the same circuit often sit in a chain, so one dead receptacle may point to several more that are hidden behind it.
Use the lamp or outlet tester at the first outlet in a room, then move to the next receptacle, switch, or light when the first one drops out. On a bedroom circuit, you might find that three wall outlets and the ceiling fan stop working together, while the hallway outlet stays live. That tells you the circuit boundary, not just the room name.
A simple pattern helps:
- If a whole room loses power, the label can be room-based, such as “Primary bedroom outlets.”
- If half a room loses power, split the label by location or wall, such as “Living room east wall outlets.”
- If lights and outlets are mixed, note both, such as “Dining room light and one outlet.”
- If an outdoor outlet loses power, include the exterior location, such as “Back porch GFCI.”
An outlet tester is useful because it gives a fast yes/no result at the receptacle. A lamp is useful because it is easy to see from a doorway or hallway. I would use both if the circuit is messy. The tester catches dead receptacles; the lamp catches the ones you can see from across the room.
The trade-off is time. A circuit map built carefully this way is slower than guessing from room labels, but guessing leaves you with a panel directory that fails the one test that matters: finding the right breaker when something needs to be shut off.
What should the panel directory label actually say?
The panel directory should say the load in plain language, not a code number or a vague room name. A good label helps a person cut power fast in an emergency and helps the next person understand the circuit without opening the house’s entire history file.
Write labels that are specific enough to be useful but short enough to fit on the strip. “Kitchen counters west” is better than “Kitchen.” “Office outlets and lights” is better than “Upstairs.” If a breaker feeds one dedicated appliance, name the appliance exactly, such as “Refrigerator” or “Microwave.” If it feeds a bathroom GFCI chain, note that as well.
Use a label maker if you have one, because printed labels stay readable longer than handwriting on small adhesive strips. If the panel uses a directory card under a clear cover, a clean typed list is even better. Keep the wording consistent across the whole panel so similar circuits read the same way. For example:
- “Bedroom 1 outlets”
- “Bedroom 1 light”
- “Hall bath receptacles”
- “Garage door opener”
- “Exterior lights front”
Avoid labels that confuse future work:
- “Spare?” if you have not verified it is spare
- “Maybe fridge”
- “Front area”
- “All lights”
- “Unknown”
The cost of a bad label is real. The next person may turn off the wrong breaker and lose the wrong room, or may leave power on because the directory is too vague to trust. A clear directory also helps when you later compare circuits as part of a broader electrical panel upgrade plan, since a panel that is clearly mapped is easier to evaluate.
Common mistakes that ruin a circuit map
The biggest mistake is labeling from memory instead of from a test. Memory fails fast in a house with multiple bedrooms, a finished basement, or a garage that was remodeled later. A breaker marked “upstairs” often ends up controlling only one outlet and a bath fan, which is not a useful label.
Another mistake is testing too many breakers at once. If two breakers are off, you cannot tell which one killed the lamp or outlet tester. That turns a clean map into a pile of guesses. One breaker at a time is slower, but it gives a result you can trust.
A third mistake is using room names when the circuit crosses rooms. Many houses have circuits that start in one room and continue into another. If you label that breaker “kitchen,” you create a problem later when the hallway outlet dies too and nobody expects it. Write the actual load path instead of forcing a neat story onto a messy house.
A fourth mistake is skipping the final walk-through. After you finish the labels, turn each breaker off again briefly and confirm the directory matches reality. That second pass catches swapped labels, similar room names, and spare breakers that are not really spare. Ten minutes here can save a lot of frustration later.
Do not label a breaker as “spare” unless you have confirmed that nothing in the house loses power when it is off. Empty-looking spaces in a breaker panel can still hide multi-wire circuits, garage loads, or something added after the original directory was written.
How to finish the labels so they stay useful
You finish by copying your notes into the panel directory in one clean format and checking that every breaker has one clear description. The directory should be readable in low light, so keep the words short and the handwriting large enough to scan in seconds.
If the directory card has narrow lines, write the most important load first and the secondary load second. “Kitchen counters / dining light” is easier to use than “Kitchen, dining, receptacles, maybe.” If a breaker is truly spare, mark it plainly as “Spare” only after you have confirmed it is unused.
A label maker gives the cleanest result if the panel door has enough space for adhesive strips. Use dark text on a light background when possible. If you are handwriting, use block letters and a fine-tip marker so the label does not blur in the warm air around the panel. A directory that can be read in 2 seconds is better than a pretty one that nobody can decipher.
Keep your notes with the panel directory. A simple page that lists breaker number, load description, and any oddities—such as “bedroom closet outlet also dead” or “bath fan shares breaker with hall light”—is worth saving inside a nearby drawer or taped to the inside of the utility closet door. That extra page is useful when the house changes later.
When a homeowner should stop and call an electrician
A homeowner should stop if the panel shows heat damage, corrosion, buzzing, moisture, or breakers that feel loose or will not stay in place. Those are not labeling problems; they are signs the panel needs a professional look. A breaker panel that is physically damaged should not be treated like a simple filing task, so consult a licensed electrician.
Call a licensed electrician if the panel has unlabeled multi-wire circuits that you cannot sort out, if breakers trip repeatedly while you are mapping them, or if the directory suggests a circuit does not match the panel size. A 100-amp or 200-amp service label on the main disconnect does not tell you whether the panel internals are safe to explore, and it does not make an old directory accurate.
If you are in doubt, leave the breaker off and leave the note unfinished. A wrong label is annoying; a rushed assumption around electrical equipment can be dangerous. This page is about circuit mapping, not breaker replacement or panel upgrade work, so the safe line is simple: label what you can verify and stop where verification ends.
What if the panel labels are wrong?
If the panel labels are wrong, ignore them and rebuild the directory from scratch. The old labels are only a starting point, and in many houses they were written years ago, after additions, remodels, or a previous owner’s guesses.
Use the breaker-by-breaker method and treat the old directory as untrusted until it matches a real test. If “living room” turns off the refrigerator and the dining outlet instead, write the new result down and keep going. It is common for an old panel schedule to be partly correct and partly wrong.
The safest habit is to keep the old note separate from the new one until you finish the full map. That way, you do not copy a mistake into the fresh directory by accident.
How do I map breakers to rooms?
Turn off one breaker at a time, then check each room with a lamp or outlet tester until you find what lost power. The room list should include obvious areas like kitchen, bedrooms, baths, garage, and outdoor outlets. When a breaker kills two rooms or only half a room, label the actual loads, not the room name alone.
What if the panel labels are wrong?
Treat the old labels as guesses and verify each breaker from scratch. Wrong labels are common in older homes, especially after additions or remodels. Rewrite the directory only after you have confirmed the loads with a lamp, an outlet tester, or both.
Is it safe to open a breaker panel?
It is safe to open the outer door for labeling if the panel is dry, intact, and not showing signs of damage. Do not remove the deadfront cover unless you are trained to work around energized parts. If you see heat damage, rust, moisture, or a buzzing sound, stop and call a licensed electrician.
Drafted with AI; not yet reviewed by a person.